These days it’s very common to plant large evergreen aesthetic-looking trees on a lawn or yard to increase the appearance and beauty of a landscape. People go for many different kinds of trees that have aesthetic appeal, as well as other benefits like shades, windbreak, privacy screens, etc. However, after a certain time, if a tree dies, gets damaged due to some reasons, or gets infected with some disease, you might have to cut it down and remove it from your lawn altogether. And after you are done removing a tree from your property, it’s highly likely that your lawn has gone through some damage.
After you’re done removing a tree from your lawn, your lawn having grass damage or soft spots is quite likely to happen. Damages can also occur due to the absence of the tree and its root system or due to the work of the tree-removing crew. Those soft spots might occur after removing the tree roots or the tree stump, as after these removals, the soil starts to fill the empty spaces, which can lead to dead patches in the grass that you will need to work on so that it can evenly grow back.
No matter how damaged or scarred your lawn is right now, you can repair, replant, and get it to an even better condition. We will talk about how you can do so after removing a tree.
Easy 8 Ways to Repair Your Lawn After Tree Removal
In terms of repairing your lawn and getting it back to its previous glory, you can go for various ways of lawn repairing. Some repairing techniques are plain and simple, and also inexpensive, while some others will require something more but will get you better results. Let’s have a look at some of the most common methods of lawn repair below.
1. SOD
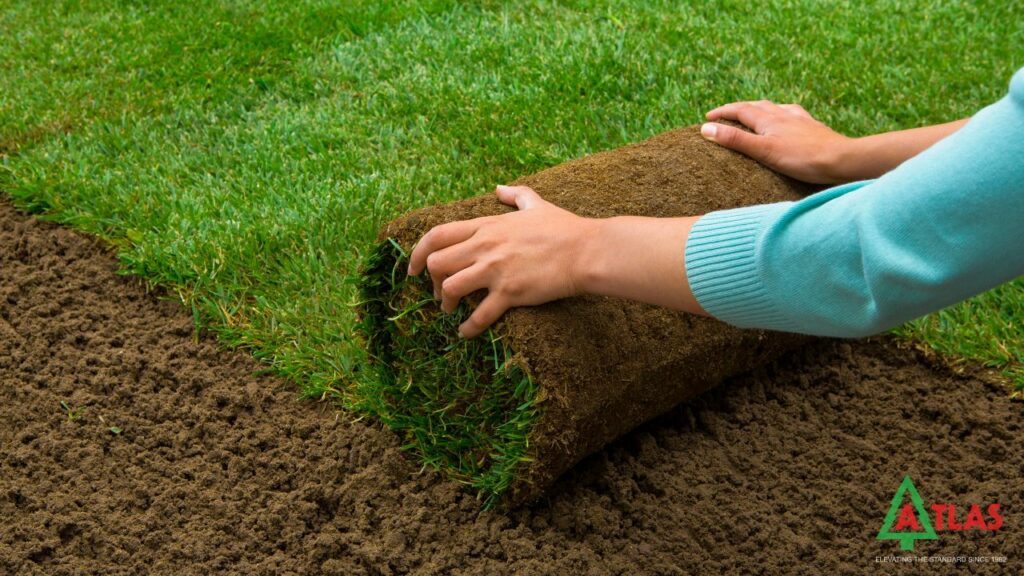
This method of lawn repair is usually used after new construction. SODs are mature grass in rolled bundles, and the grass comes with the earth it’s living in. Before rolling them into bundles and delivering them to building sites, they are properly farmed, cut, and pulled up. You can use them to reinstall your lawn and make it look totally mature in the quickest way. The seams that will be left from the SOD rolls will uniformly and quickly grow together. You can go for this method after removing a tree, if-
- You want a quick solution and want the area to look as best as possible.
- You want to reshape your lawn to some degree
- You have erosion issues in the area, as sod can help mitigate this problem
- Also, you can go for it during any season of the year.
2. Removal of Roots and Stump
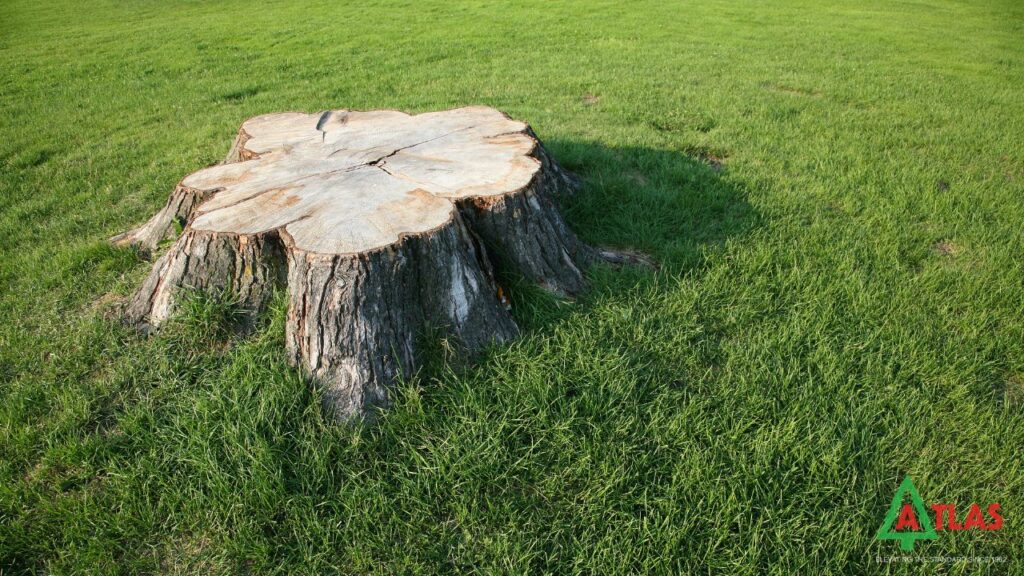
After removing a tree, often the stump and roots are left behind. Moreover, the stumps and roots can create various potential risks on the property, and all the leftover elements can attract different pests, such as termites. If you go for an arborist or a proper tree service company, they will use different tools to cut the roots from your lawn and grind away the trunk. The root system of a tree can extend really deep into the ground, and then spread toward a distance. That’s why you need to remove the majority of your base roots so that future problems, such as trees pushing any of the leftover roots, can also be prevented.
3. The Deep Root Fertilization
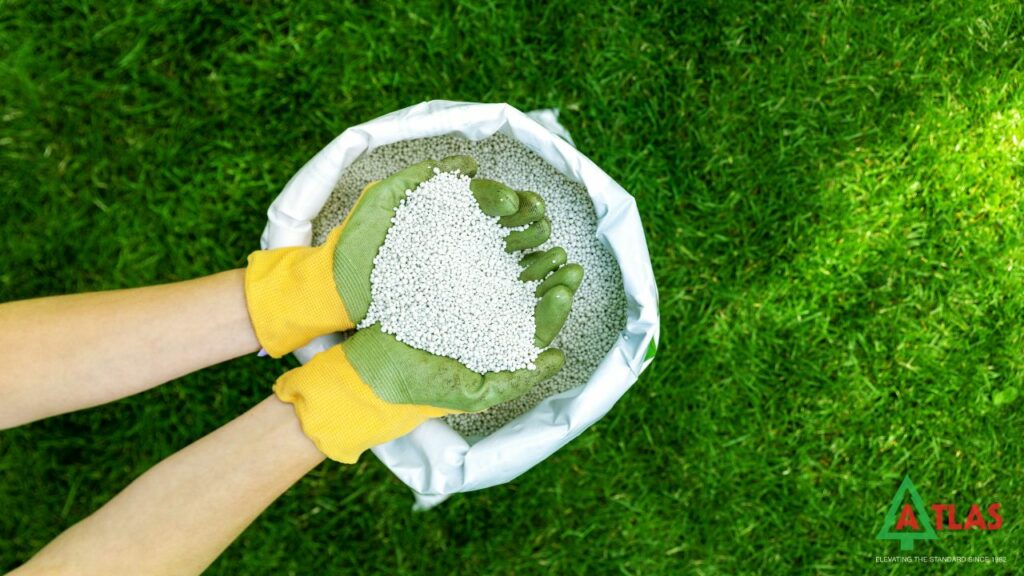
Tree removal doesn’t only create issues to the area where the tree used to be, but also other trees on your lawn face some problems. Other trees might lack the proper nutrients that they need to thrive after another tree has been removed, and it can impact their health. Due to the root systems getting blocked and the ground getting disturbed, you might have to see more dead trees on your lawn.
To prevent that from happening, you can go for deep root fertilization. You will need to deliver special nutrients for the trees deep into the ground for this method. This way, the nutrients will be available to the other trees, and they will be able to adjust to the changes occurring in the soil of the landscape. If the removed tree was infected by a disease, the deep root fertilization method also might be able to help prevent that disease from spreading to the other ones.
4. Bracing and Cabling
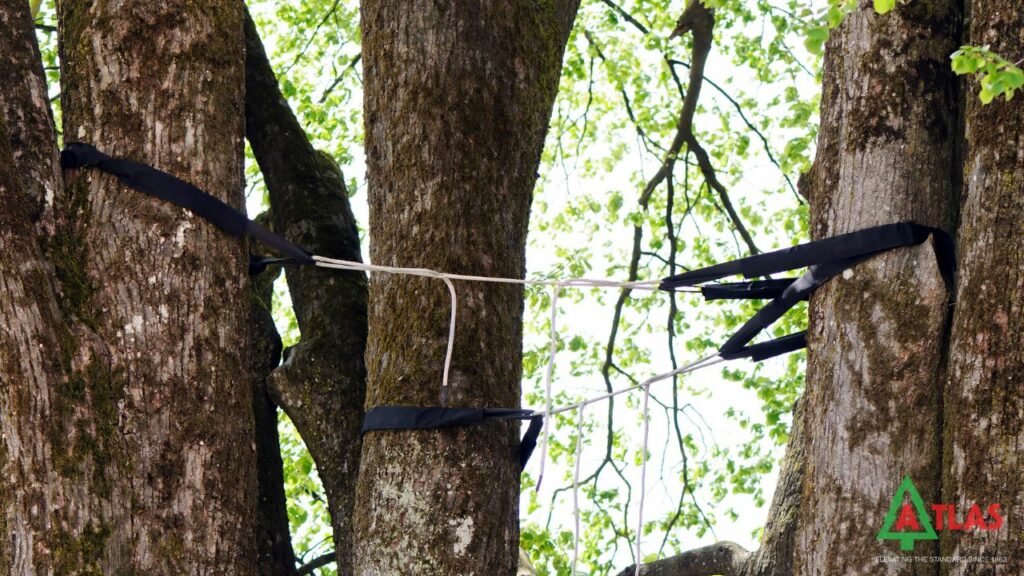
The branches and trunk of the removed tree can impact other trees. As a result, trees can be lean, or their branches can get susceptible to damage and weaker. You can consider bracing and cabling instead of removing all the trees. Bracing will help protect a tree’s trunk and correct any angle caused by a fallen or removed tree. At the same time, cabling will help secure tree branches and prevent them from falling, and forcing a tree into various directions. A tree will get more stability with longer usage of these techniques over time.
5. Lawn Indent Repair
The roots and stump of a tree get pulled up after it’s removed from a lawn and create problems in the lawn as grass and dirt push up into mounds. Large mounds can impact the growth of other plants, and create areas with water puddles or pools. You might notice bumps, grooves, and big indents once a tree gets removed. Grasses might have been shredded or dragged in different areas. The trucks you used to remove the tree elements can also leave tracks or indents on the lawn.
The lawn can be leveled out with dirtbags, and new grass will grow with the help of grass seeds. It might take quite some time, even a season, for the entire lawn to return to its original state, but all the work and extra effort will be worth your while.
6. Adding Limestone
The soil can get excessively acidic after the removal of a tree, especially if the tree has been in that position for a long time. If you see that the pH levels of the soil are off after testing it, you can add limestone to the soil to bring balance in the soil regarding the pH and mineral levels. You can also add Iron Sulfate.
7. Reseeding The Area
After removing a stump, the most common thing to do for lawn repair is to fill in that earth patch with a new tree instead of using sod rolls. Make sure to remove the wood shavings, dirt chunks, etc., from the place of stump removal. Make sure to fill the hole with soil and ensure that the height is the same as the yard. Go for nutrient-dense and good-quality topsoil so that you can grow new grass easily. Use a rake to compact the soil and even it out.
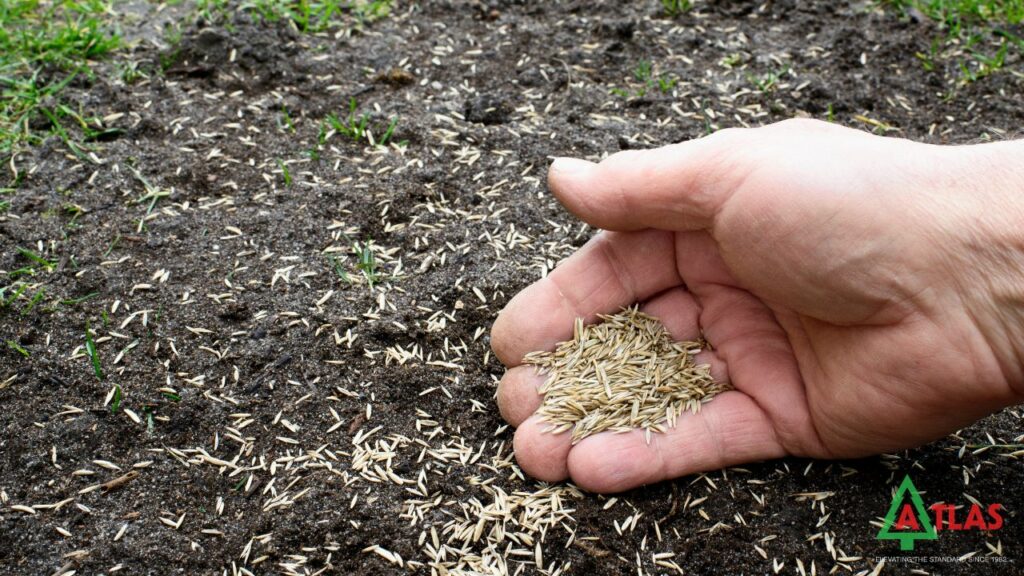
Then you can choose to plant a new tree or go for growing grass in that area. You can spread grass seeds easily by hand on the ground if the area is small. Make sure to choose the type of grass that will suit your lawn well. Spread the seeds evenly on the topsoil, and then cover the entire area. Make sure to disperse the seeds and criss-cross the direction of seeding so that a good amount of seeds get used per square inch.
Then rake those seeds gently into the soil, and add another layer of topsoil to cover them. It will help prevent the seeds from getting washed by rain or blown away by a strong wind.
8. Watering The Soil and Caring for the New Grass
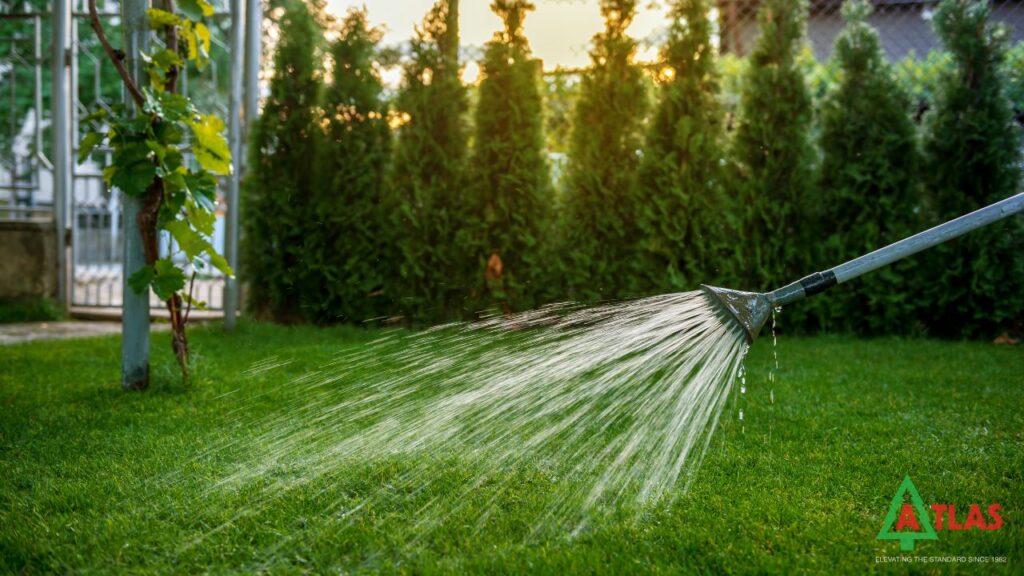
Make sure to water the soil thoroughly so that the seeds get the proper chance to sprout. It will also help the seeds settle into a hole and get the spaces around the hole entirely filled. However, make sure not to overwater the seeds. Use a water sprinkler or garden hose for this task. Be careful to keep the area not soaked. Instead, keep it moist, and the soil must never float up. Keep doing this until the grasses have grown two inches or higher.
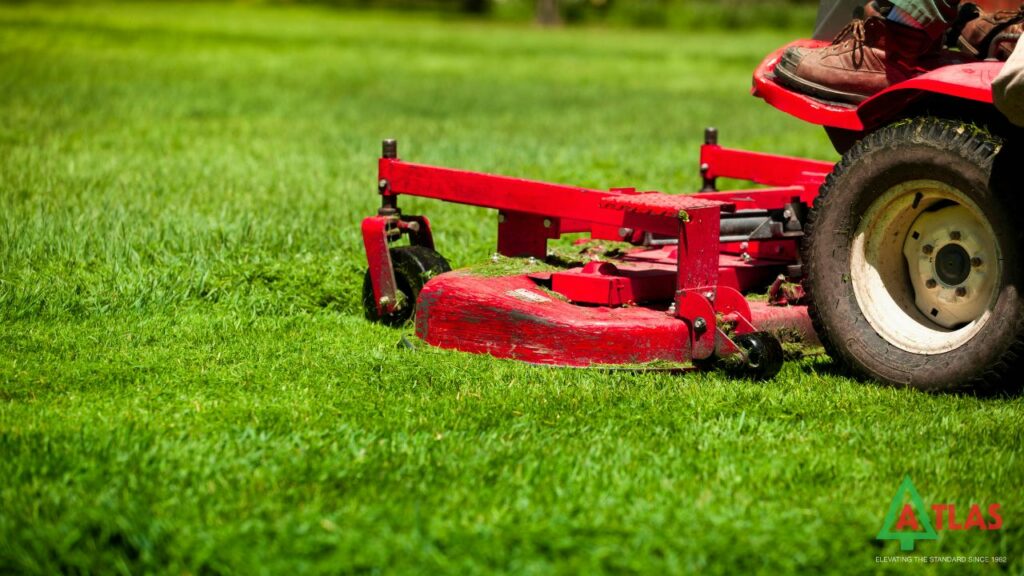
Make sure to take proper care of your new grasses after they take roots. If they grow taller, you’ll need to mow them. Also, be mindful of their growth throughout the season.
How to Use Wood Chips as Mulch in Your Yard?
Wood chips can be a good option for your yard as mulch if you know how to use or apply them. Let’s see the steps of applying wood chips in your yard:
Step 1: Clean the Yard
You have to clean the yard properly while preparing it for using wood chips. There can be roots, and weeds that need to be cleared. Thus, the weed also gets prevented and the soil remains moisturized.
Step 2: Water the Area
Water the area so that the soil stays moisturized for long, and becomes friendly for planting. It’s the previous stage of spreading the wood chips.
Step 3: Spread the Wood Chips
Spread the wood chips evenly around the existing plants, and on the bare lands properly. Keep the layer deep, at least 3 inches if your planned plantation area is near the coast. It would be more stable on the ground if the wood chips are larger, and they won’t blow away.
Step 4: Pull the Wood Chips Mulch Back
Pull the created mulch back where you used wood chips after planting trees. You should keep at least a 2-inch space between the mulch and stems. Moreover, keep the mulch 3-4 inches away from the trunks so that they can grow well.
Step 5: Re-apply the Wood Chips
The mulch layer will be stronger and more stable if you remove the old layer, and replenish the wood chips again. Summer is the perfect season for the reapplication of wood chips mulch on land.
Why Is It Necessary to Clean Up After Stump Removal?
It is necessary to clean up the soil and area after stump removal for different reasons. Those are quite logical, and that’s why experts suggest everyone clean the whole surface pretty well after removing a tree with a stump.
- The area will look ugly and empty after removing stumps if you don’t clean it well. You will definitely not want the outdoors around you to look like that.
- You may fail to replant on the very spot if you don’t clean the area well. That’s why there is no alternative to perfect cleaning of the land for proper replanting.
- If the roots and debris remain on the land after removing stumps, the remains will keep consuming the nutrients from the soil. Thus, the new plants will be deficient in nutrients, and won’t have proper growth. So, it is necessary to clean up after stump removal.
Also Read: When it comes to tree maintenance, you must understand the distinction between tree trimming and tree pruning so that you can determine which method is ideal for your trees.
How to Fill a Hole After Stump Grinding and What to Utilize?
It is quite natural that when you grind a tree stump, it will leave a big hole. You will have to fill it to let the surface recover. Filling the hole after stump grinding is quite easy if you follow the mentioned steps.
1. Clean the Area
As mentioned before, the area needs to be clean, and you have to remove every root and particle from there after stump removal. Please make sure that there is nothing left of the previous tree.
2. Put the Dirt
You can use dirt or sand to fill up the huge gap after cleaning. Don’t leave any part uncovered; otherwise, the soil won’t be set properly. Next, you have to bring topsoil for that area from a nursery so that the layer becomes strong.
3. Plant Grass Seeds
After utilizing sand and soil, you can use grass seeds to grow them and help the soil recover. You may use plant shrubs and wood chips too, instead of grass.
4. Let the Soil Set
You must give the layer some time to set it on the ground and fill the hole properly. Before the soil sets on the area, you shouldn’t interrupt the process and pressurize the spot.
What Kinds of Damage Can You Expect After Tree Removal?
You may face various types of damage after you remove a tree from your yard. The consequences depend on different situations. Let’s see what things you can see after removing a whole tree.
- The ground around the tree will surely be damaged, at least no matter how carefully you cut the tree. The damage will be less if you leave the stumps for some time.
- Tree roots will slowly die if you cut the tree and leave the stump on the ground.
- You may cause breakage of the wires while removing a tree because there may be electric poles nearby.
- Window glasses and other surrounded things can also damage during tree removal. But these situations are avoidable if you or the person you have hired is an expert.
- You may hurt other existing, live trees while removing a dead one near that, even if you use a machine.
Also Read: Having a tree removed is a huge task. Check out these four indications that it’s time to get a professional to remove your tree.
Need Assistance Repairing Your Lawn After Tree Removal?
It is nearly impossible to remove a tree and repair the lawn after that without professional help. You can call the nearest arborist to get help, and if you’re around us, you can call us for any type of help.
We will be there to help you if you need during the tree or stump removal, repair the lawn, and even compensate for any damages. You don’t have to worry about any assistance because we are just a phone call away.
Final Words
You can go for repairing your lawn after the removal of a tree in the abovementioned ways. It’s a must that you get your lawn repaired, as it’s both inconvenient and risky to keep it that way. As it’s a really important task and not so easy either, you can try taking the help of an arborist or a tree service company to help you with that. You can easily handle the reseeding part, but if you feel the need for your lawn to be sodded or regarded, it’s for the best if you contact an experienced professional and take their help.